
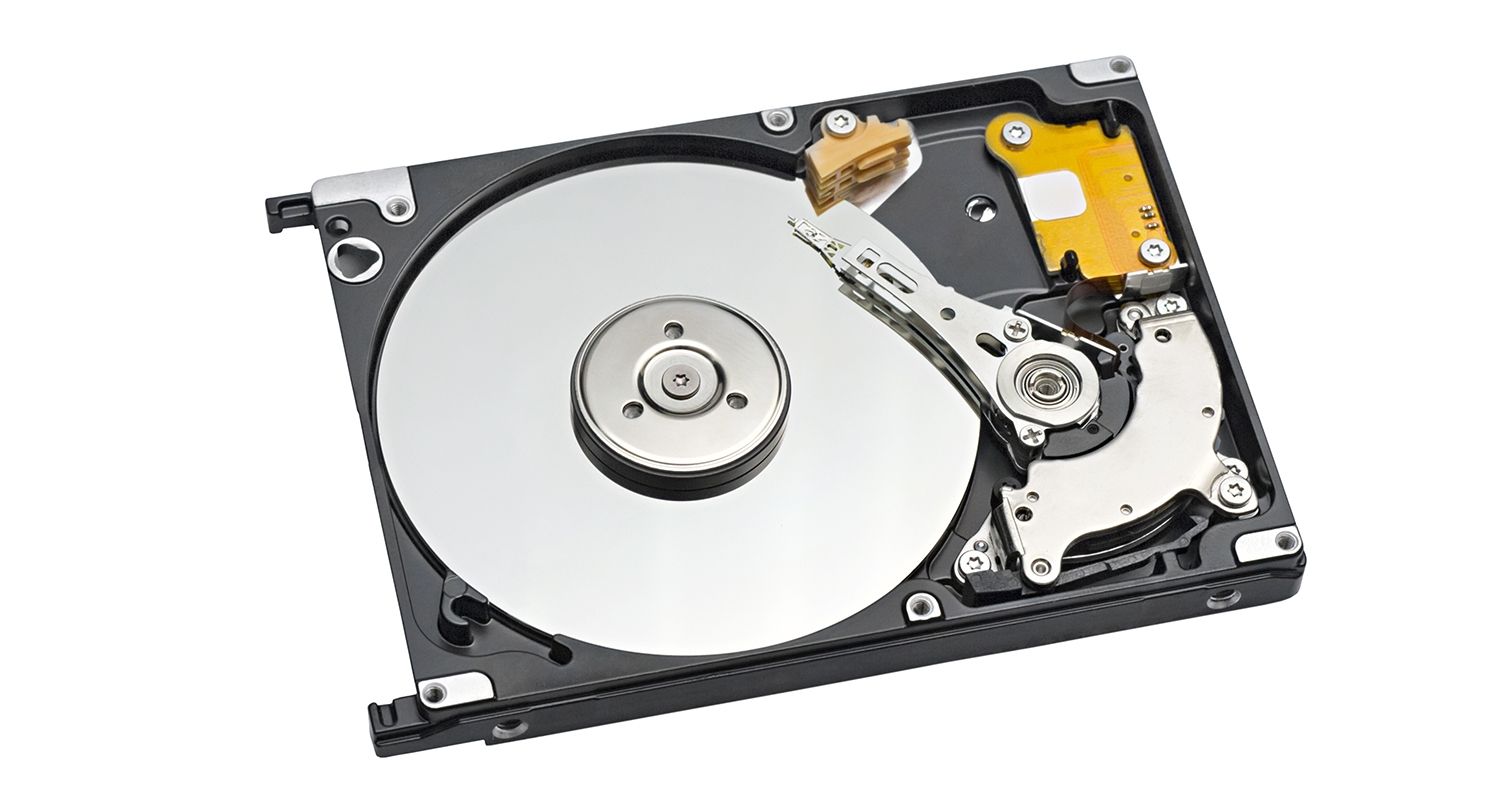
A hard disk drive (HDD) is composed of a platter that contains compartments to hold data. This data is your operating system, applications, and any files you have created. There is also an accuator arm that moves across the platter to read or write the information requested. To make this process faster, the platter spins as the accuator arm moves across it.
The compartments that hold the data can be spread out all over the hard disk. That is, data is not written sequentially. There is an indexing system to allow the accuator arm to find all of the pertinent data.
The platter and the accuator arm are delicate, so they are covered by a steel case. This prevents damage to the disk under normal circumstances.
HDDs are proven technology that can hold a large amount of data (this varies by the size of the drive) and are relatively cheap. Under normal use, they are reasonably durable and function well.
There are drawbacks, however. Hard disk drives can be slow, especially to open large applications or files. Because they do not write data sequentially, the data can become fragmented, with empty space within each compartment. This empty space is too small to use for data, but when the empty space is added together it can take up a large portion of the drive. Learn how to defragment your hard drive.
Hard drives use a lot of power and produce a lot of heat. This makes them less useful in smaller computers like laptops and notebooks. Under normal circumstances HDDs are durable. But when hard drives are in portable computers that can be dropped or bumped while the platter is spinning, the drive can be damaged so that the data on them is not retrievable by end users.
Your computer must have at least one storage drive to function. Usually, the storage drive is an internal drive; located inside the computer case. Internal drives come in a variety of storage sizes and can be replaced if you don't have enough storage space.
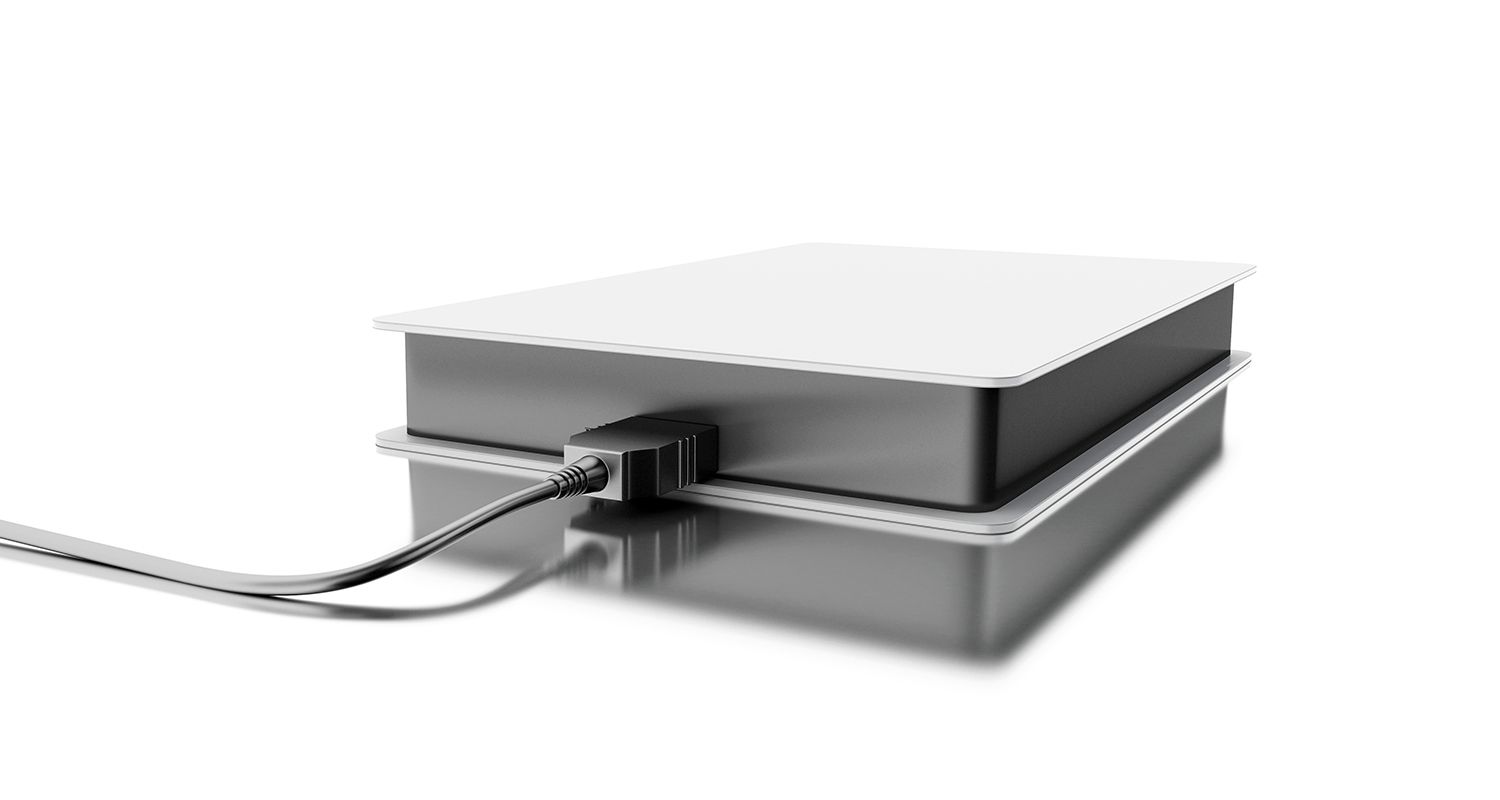
You can set up a computer with an external drive in addition to the internal drive. An external drive attaches to the computer, generally through a USB port. An external drive gives you more storage space for backup files, pictures, music, or particularly large files.
External drives are also portable; you can move them between computers. This will allow you to share things like pictures more easily.
The technology behind hard disk drives is well known and well-tested. Hard disk drives have been around for more than 50 years, steadily increasing their storage capacity and decreasing their physical size. HDDs rely on spinning disks, or platters, to read and write data.

How Hard Drives Work
Hard disk drives consist of one or more magnetically-sensitive platters, an actuator arm with a read/write head on it for each platter, and a motor to spin the platters and move the arms. There is also an I/O controller and firmware that tells the hardware what to do and communicates with the rest of the system.
Each platter is organized into concentric circles called tracks. Tracks are divided into logical units called sectors. Each track and sector number results in a unique address that can be used to organize and locate data. Data is written to the nearest available area. There is an algorithm that processes the data before it’s written, allowing the firmware to detect and correct errors.
The platters spin at preset speeds (4200 rpm to 7200 rpm for consumer computers). Those speeds correlate to read/write rates. The higher the preset speed, the faster a hard drive will be able to read and write data.
Reading and Writing
Each time you ask your computer to retrieve or update data, the I/O controller tells the actuator arm where that data is located, and the read/write head gathers the data by reading the presence or absence of a charge in each address. If the request was to update the data, the read/write head changes the charge on the affected track and sector.
The time it takes for the platter to spin and the actuator arm to find the correct track and sector is known as latency.
Benefits
The benefits of a hard disk drivs are that they are a proven technology, and are frequently less expensive than a solid state drives for the same amount of storage. Currently, HDDs are also available with more storage space than SSDs.
Drawbacks
The drawbacks to HDDs are a result of the mechanical parts used to read and write data, as physically finding and retrieving data takes more time than electronically finding and retrieving data. The mechanical parts can skip or even fail if they are handled roughly or dropped. This is a concern in laptops, but not as much in desktops. HDDs are also heavier and use more energy than comparable SSDs.
Manufacturing
Step 1: Mineral extraction and processing
It's no surprise then that platinum is hugely expensive – today's market price is more than $1,300 per Troy ounce. Turning to ruthenium, the total annual production is just 27 tonnes, an amount that would fit in a 1.3m3 cube. Both are mined predominantly in South Africa.
Platinum is one of the noble metals, which means that it's relatively unreactive. Unlike metals such as copper – the main ores of which are compounds – platinum is normally found in its metallic form. This doesn't mean that extracting it from its ore is simple, though, as platinum is normally found mixed with other metals.
Obtaining pure platinum involves separating it from the iron, copper, gold, nickel, iridium, palladium, rhodium, ruthenium and osmium that it's invariably found with. Let's just say it's a complicated multistage chemical process that can take up to six months to complete. Fortuitously, though, the ruthenium that's also needed in disk manufacture is a by-product of the process.
Step 2: Making aluminium blanks
The manufacture of a hard disk platter starts with the fabrication of aluminium blanks, which are disks of aluminium alloy onto which the magnetic recording layer will eventually be deposited.
High-purity alloy that contains four to five per cent magnesium plus small amounts of silicon, copper, iron and zinc to give it the necessary properties is cast into an ingot weighing seven tonnes. The ingot is then heat-treated, hot-rolled and cold-rolled in multiple passes to provide a sheet of the necessary thickness (usually 0.635mm, 0.8mm, 1.0mm, 1.27mm, 1.5mm or 1.8 mm – just enough to provide adequate stability while rotating at high speed) from which the blanks will be punched.
Punching takes place once the alloy sheet has been coiled into large rolls so that a single stamping process produces lots of blanks. This is then followed by a stacked annealing process to reflatten the blanks. Finally the blanks are ground to a high level of precision to achieve the necessary surface and edge finish. Bear in mind that this and all subsequent steps are carried out on both sides of the platter so that it ends up with two recording surfaces.
Step 3: NiP plating
The aluminium blanks are now precision-ground using 'stones' that are composed of PVA and which contain silicon carbide as the abrasive agent. However, even with all the care taken to produce a good finish, the surfaces of the aluminium blanks produced in Step 2 are not yet nearly perfect enough. Because there's a limit to the degree of smoothness to which aluminium alloy can be ground, the next step is to apply a hard coating that will take a better finish.
This hard coating is an amorphous alloy of nickel and phosphorous (NiP). It's applied by an electroless process in which complex supersaturated solutions containing compounds of nickel and phosphorous react on the surface of the disk to leave the required NiP layer. This layer can now be further refined in the next step of the process.
Step 4: Precision polishing
After NiP plating, the substrate is polished in several steps using progressively finer abrasives based mostly on silicon carbide, diamond and aluminium oxide. The end result is a disk that has a roughness of less than 1Å (an Angstrom unit – 0.1nm, 0.0001μm or 0.0000001mm), which is about the size of an atom and 450 times less than the minimum size of the features in today's microprocessors.
Subsequent processes in the following steps increase the roughness to 4Å, the minimum level of surface flatness that will allow the head to fly reliably over the surface of the media with a controlled spacing of around 2nm.
Step 5: Washing and inspecting
Some manufacturers employ a conditioning step to remove any contamination that may be still present on the substrate. This involves spinning the disk and then very gently pressing a barely abrasive tape onto the surface. Then, before the magnetic data recording layers are applied, the disk is cleaned so that it's free of any particles, scratches or contaminants. This is done using wet chemical exposures to acidic and alkaline solutions, followed by mechanical scrubbing in soapy solutions and then multiple rinses in deionised water.
The disk is dried using a surface tension effect. Before continuing, advanced optical inspection is used to detect particles, contaminants or scratches, and any disks with such defects are rejected. The process is fully automated using optics and electronic detectors combined with smart software to identify imperfections.
Step 6: Applying a soft magnetic underlayer
The next few steps involve depositing layers of various materials with differing magnetic properties using a process called 'Sputtering' that takes place in a multi-chamber vacuum deposition tool.
The first of these layers is the soft magnetic underlayer. Otherwise known as the magnetic keeper layer, it's a good conductor of magnetic fields. This layer is unique to Perpendicular Magnetic Recording technology (see 'From LMR to PMR, overleaf) and has the result of enhancing the perpendicular field needed for writing by providing an 'image field' to the field produced by the head. The soft magnetic under-layer is made from an alloy, typically containing cobalt, nickel and iron.
In Western Digital's latest platters this layer takes the form of two sub-layers separated by a four-atom thick layer of ruthenium. When two ferromagnetic layers are separated by a thin layer of ruthenium, the resulting interaction between the two layers is such that energy is minimised when the magnetisation between those layers is opposite. This is known as a synthetic antiferromagnet, and the end result is a keeper layer with properties that can be finely tuned. Only a few elements are known to do this, and ruthenium has the largest effect – which is why it's used in modern hard disks.
Step 7: Adding the data storage layers
Now we come to the data-storage layers. These are made from an alloy of cobalt, chromium and platinum (CoCrPt). Cobalt is used because it has a hexagonal crystal structure, which is less symmetrical than the cubic crystal structure of other magnetic metals (such as iron and nickel). This allows the metal's crystals to be oriented in the preferred magnetisation direction, which in the case of PMR is up or down. Chromium is added to give the cobalt resistance to corrosion and reduce the interactions between grains with a consequential improvement in the signal-to-noise ratio.
Lastly, the platinum provides thermal stability, preventing data loss if the disk is subjected to external magnetic fields or heat. As with the two sub-layers that form the soft magnetic underlayer, the recording layer is composed of several sub-layers. Often thin layers of ruthenium separate these. Ruthenium also separates the soft magnetic underlayer from the recording layer, but here it performs a quite different function. Ruthenium has a hexagonal close-packed atomic structure similar to that of the CoCrPt alloy, so it's used as a nucleation layer to help orient the crystals of the magnetic grains in the required direction.
It's also used to lower the degree of magnetic exchange coupling between the hard magnetic layers to produce advanced structures such as the widely used exchange coupled composite (ECC) structures. ECCs are used to help solve the 'trilema' in which attempts to improve any of the main requirements – thermal degradation, ease of magnetic switching and signal-to-noise ration – makes the others worse.
Step 8: Adding a protective overcoat
The final stage of the deposition process is to apply a diamond-like carbon overcoat layer to provide corrosion resistance and improve its mechanical reliability. This protective layer is typically 2nm thick and is applied by ion-beam or plasma-enhanced chemical vapour deposition techniques. The platter is now removed from the sputter deposition chamber.
Step 9: Lubricating the platter
Next, a lubricant layer is applied to the media in one or more steps depending on design. Typically the lubricant is dissolved in a solvent and applied to the platter by pulling it at a controlled rate. The rate of evaporation of the solvent in the meniscus that forms at the liquid air interface during the pulling process and the concentration of lubricant in the solution determine the resulting thickness on the disk, which is approximately 1nm. The layer comprises advanced perfluoropolyether lubricants combined with phosphazene additives that inhibit degradation of the lubricant.
Typically the lubricant layer is partially bonded to the overcoat film and imparts durability to the head media interface system in a drive. The bonding process can be activated thermally or, more typically, by exposure to ultraviolet light. During the bonding process, cross-link chemical bonds form in the lubricant's molecular chains to limit the mobility of the lubricant. However, the top-most portion of the lubricant is left to be fully mobile.
After lubrication, a tape burnish process and then a head burnish process are used to wear out asperities (microscopic unevenness) and remove any loose particles that may remain on the surface of the platter after the sputter and lubrication processes have been completed.
Step 10: Testing and certification
The final step before the platter can take its place in a disk drive is to certify that it can pass what is referred to as a glide test. During the glide process a specially made head is 'glided' over the surface of the platter to detect any remaining asperity on the media. This process ensures that a head will be able to fl y over the surface of the disk without crashing into any projections.
If the platter passes this last step then it's deemed 'flyable' or 'prime' and after a magnetic conditioning step it's appropriately packed up and shipped to the drive factory.
The magnetic conditioning step involves exposure of the finished media to a large magnetic field in order to leave the magnetisation in the storage layer in a uniform state that will not interfere with the drive manufacturing process.
Here are some videos for you to learn more: